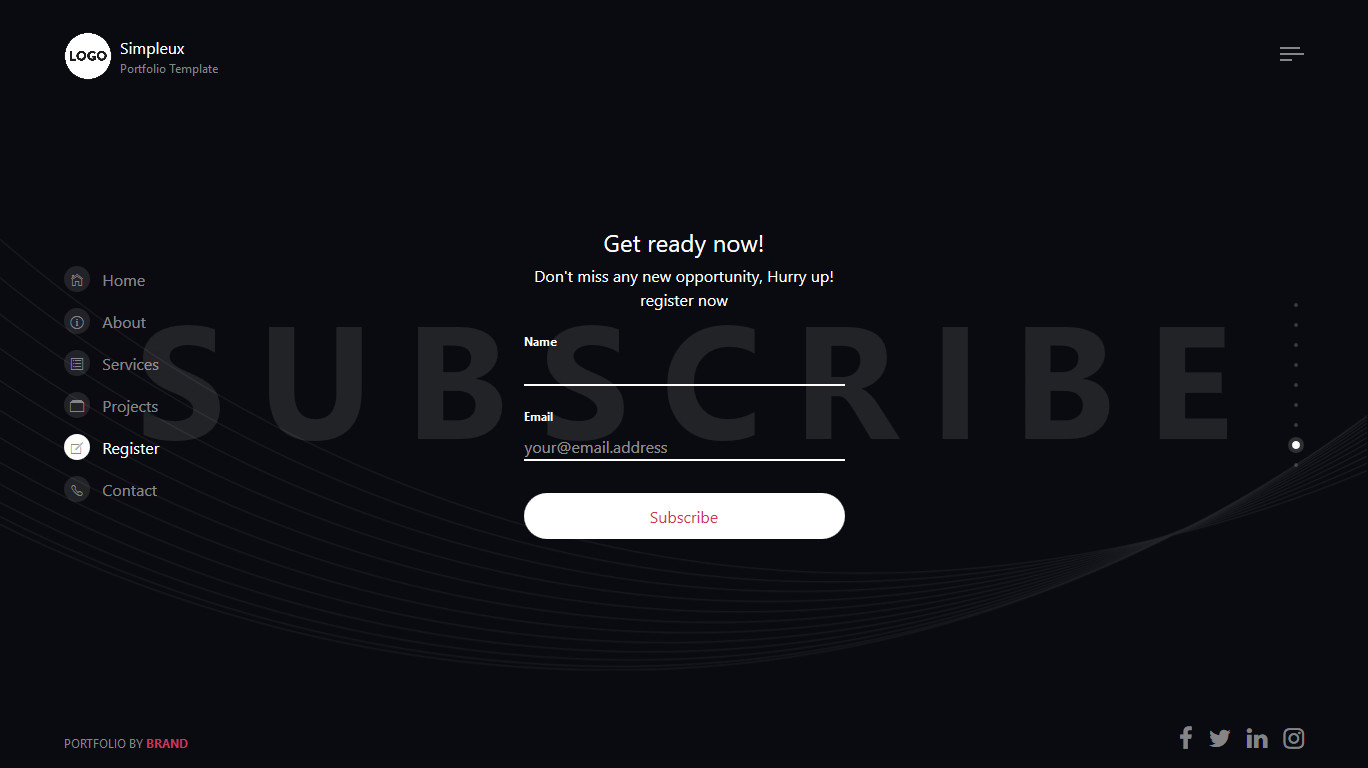
Email subscription - section
This section layout represents the subscription form of index.html file. You can use it as an email registration form or as a login form (need a server side implementation)
CODE
Here is the HTML code to obtain it. Embed it within the main tag with class page-main.
Please, note that you can not use the data-section value twice for a different section within an HTML page, as it will be the id
of the section later.
<div class="section section-register fp-auto-height-responsive " data-section="register">
    <!-- Begin of section wrapper -->
    <div class="section-wrapper">
        <!-- title -->
        <div class="section-title text-center">
            <h5 class="title-bg">Subscribe</h5>
        </div>

        <!-- content -->
        <div class="section-content anim text-center">

            <div class="row align-items-center justify-content-center">

                <div class="col-12 col-md-8 col-lg-6">
                    <!-- Registration form container-->
                    <form class="send_email_form form-container form-container-transparent form-container-white" method="post" action="ajaxserver/serverfile.php">
                        <div class="form-desc">
                            <h2 class="display-4 display-title">Subscribe</h2>
                            <p class="invite">Don't miss any new opportunity, Hurry up! register now</p>
                        </div>
                        <div class="form-input">
                            <div class="form-group form-success-gone">
                                <label for="reg-name">Name</label>
                                <input id="reg-name" name="name" class="form-control-line form-control-white" type="text" />
                            </div>
                            <div class="form-group form-success-gone">
                                <label for="reg-email">Email</label>
                                <input id="reg-email" name="email" class="form-control-line form-control-white" type="email" required placeholder="your@email.address"
                                    data-validation-type="email" />
                            </div>
                            <div class="form-group mb-0">
                                <div>
                                    <p class="email-ok invisible form-text-feedback form-success-visible">Your email has been registred, thank you.</p>
                                </div>
                                <button id="submit-email" class="btn btn-white btn-round btn-full form-success-gone" name="submit_email">Subscribe</button>
                            </div>
                        </div>
                    </form>
                </div>
            </div>
        </div>
    </div>
    <!-- End of section wrapper -->
</div>
Registration form
The form tag with class send_email_form handles email registration. Here are the corresponding HTML code :
<form class="send_email_form form-container form-container-transparent form-container-white" method="post" action="ajaxserver/serverfile.php">
    <div class="form-desc">
        <h4>Get ready now!</h4>
        <p class="invite">Don't miss any new opportunity, Hurry up! register now</p>
    </div>
    <div class="form-input">
        <div class="form-group">
            <label for="username">Name</label>
            <input id="reg-name" class="form-control-line form-control-white" type="text" id="username" />
        </div>
        <div class="form-group">
            <label for="email">Email</label>
            <input id="reg-email" class="form-control-line form-control-white" type="email" required placeholder="your@email.address"
                data-validation-type="email" />
        </div>
        <div class="form-group mb-0">
            <div>
                <p class="email-ok invisible form-text-feedback form-success-visible">Your message has been sent, thank you.</p>
            </div>
            <button id="submit-email" class="btn btn-white btn-round btn-full" name="submit_email">Subscribe</button>
        </div>
    </div>
</form>
Tag with class invite represents the default text which asks for a subscription. And tag with class email-ok will be the text which will be shown when the user registration is a success.
Sample server to handles email registration are provided with the template. Note that, they works only if you use a PHP based web server and require that it allows you to send email, and to write files. Check out here to learn more.